马上中秋了,把鼠标指针变为小玉兔
我正在参加中秋创意投稿大赛,详情请看:中秋创意投稿大赛”
前言
马上中秋节啦,掘金又开始整活了,恰巧最近准备做的工具会涉及到鼠标指针的变动,就顺手先写个demo蹭蹭活动了。
顺便提前祝大家🎑中秋节快乐。
当然这个鼠标指针的变动只在Web应用中生效
方便的话可以原文戳个赞
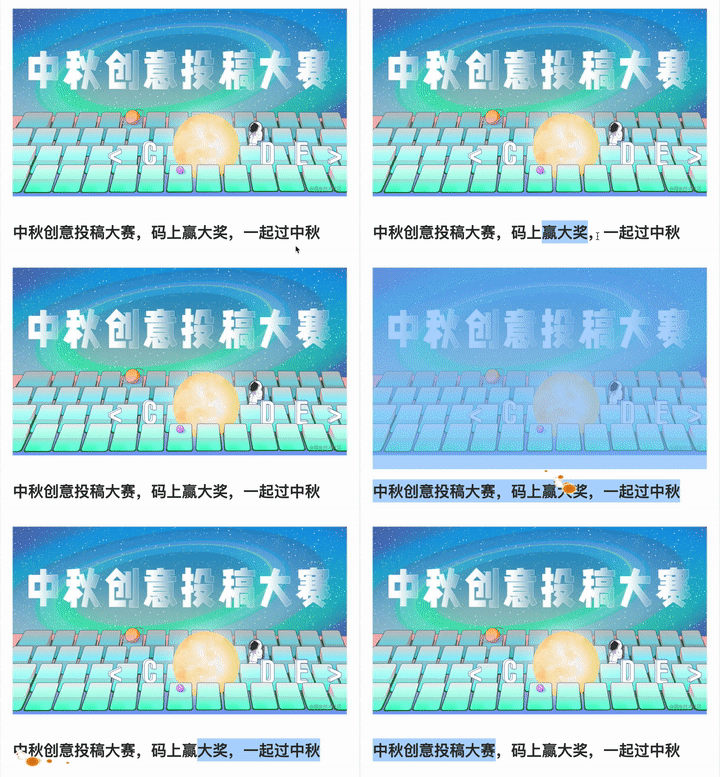
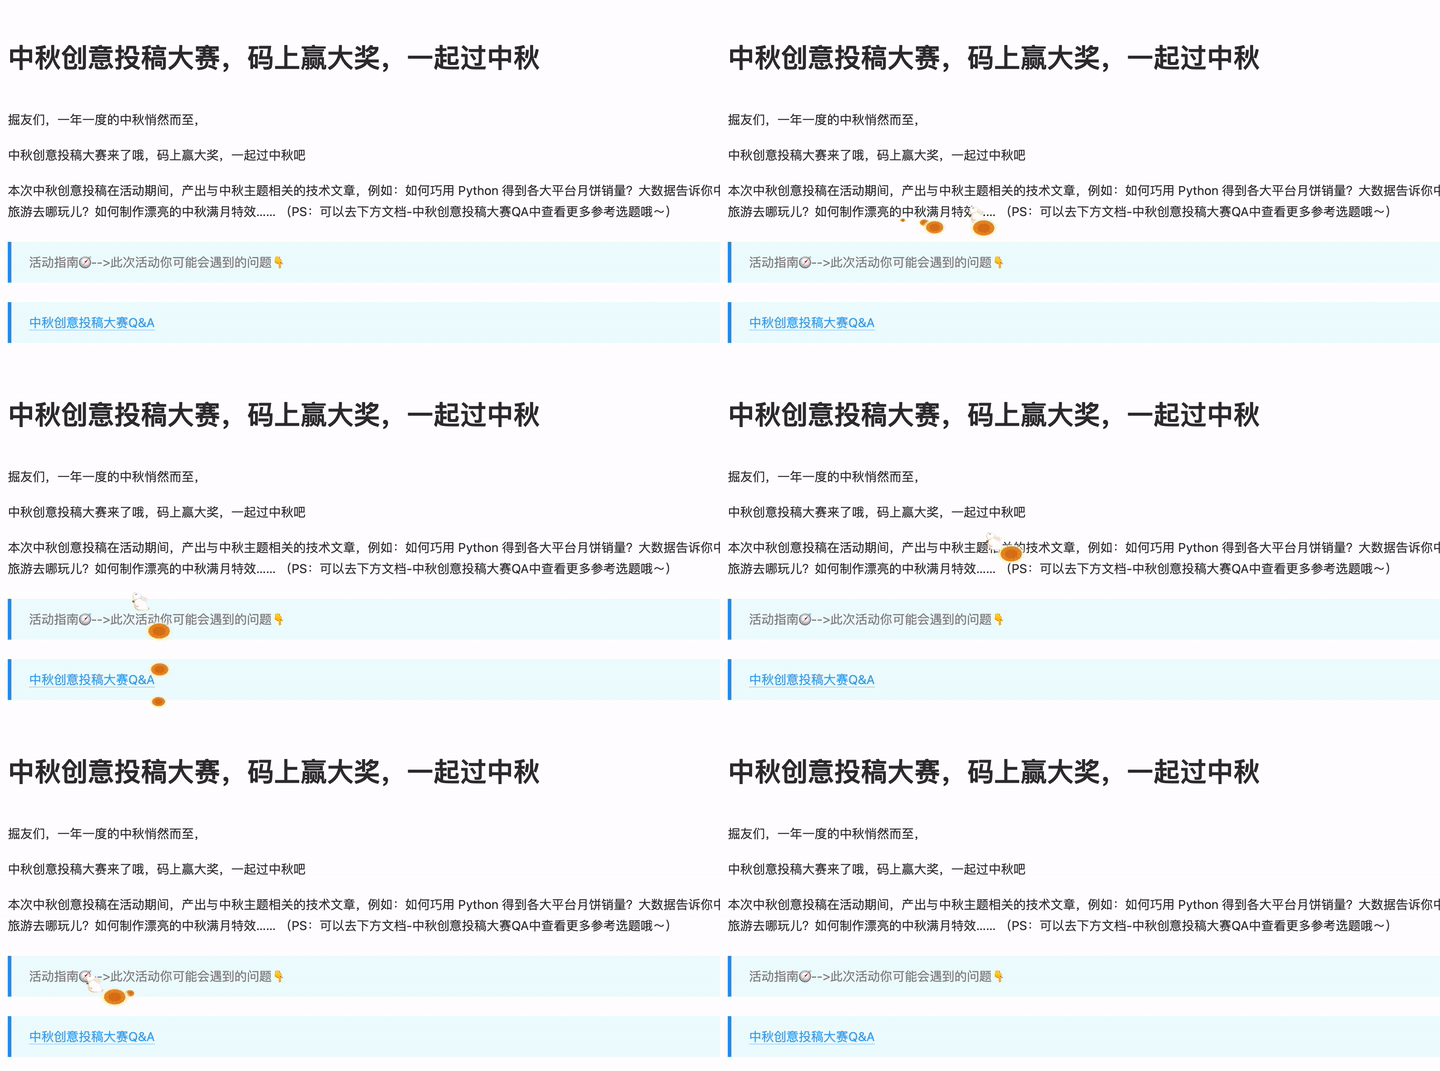
效果如下

emmmmm...动图时间较长,需要等一会儿效果才出来
码上体验
在devtools中运行下面这段神秘代码即可,实现源码见此处
const script = document.createElement('script')
script.src = './mid-autumn-festival/index.js?s1=https%3A//img.cdn.sugarat.top/demo/js-sdk/zq-rabbit/0.0.2/index.js'
document.body.append(script)
将此部分代码加入到目标页面中即可
实现思路
从动图中看到共有两种元素:
- 鼠标移动时,鼠标被替换成了玉兔
- 玉兔的尾巴处跟着一串月饼🥮
下面通过QA的方式,将开发中涉及到的问题先过一下。
获得鼠标指针的位置
通过监听window上的mousemove事件,即可获取到鼠标移动时的位置参数
隐藏原来的指针
css有一个属性cursor可以用于设置指针的类型。我们将捕获事件的dom(event.target)的cursor设置为none即可
实现指针的变更
解决了上述两个问题后,我们可以通过创建一个简单的dom元素来替代我们的指针,通过实时获取到鼠标的位置,实时更新我们的dom元素位置即可
实现鼠标轨迹
每个一段时间(如30ms)记录一下鼠标的位置,然后与绘制指针一样的逻辑,将轨迹用月饼🥮绘制出来
这里只描述了开发中初期会遇到的问题,还有一些其它问题将在下面详细实现部分进行介绍
玉兔指针实现
监听mousemove事件,获取指针相对屏幕顶部与左侧位置信息
window.addEventListener('mousemove', function (e) {
    const { clientX, clientY } = e
})
创建一个元素,设置其背景图为玉兔,并将其插入到主文档中,并初始化一些位置/形状相关的css属性。
const size = '30px'
function createCursor() {
    const cursor = h()
    cursor.id = 'cursor'

    addStyles(cursor, `
    #cursor{
        background-image:url(./mid-autumn-festival/MTYzMTMyNDYwNTgzMQ==631324605831.png);
        width:${size};
        height:${size};
        background-size:${size} ${size};
        position:fixed;
        display:none;
        cursor:none;
        transform: translate(-30%, -20%);
    }
    `)
    document.body.append(cursor)
    return cursor
}
const cursor = createCursor()

// 工具方法
function addStyles(target, styles) {
    const style = document.createElement('style')
    style.textContent = styles
    target.append(style)
}

function h(tag = 'div') {
    return document.createElement(tag)
}编写更新玉兔位置的方法refreshCursorPos,并在一段时间后,让指针恢复原状
function refreshCursorPos(x, y) {
    cursor.style.display = 'block'
    cursor.style.cursor = 'none'
    cursor.style.left = `${x}px`
    cursor.style.top = `${y}px`

    // 一段时间后隐藏
    if (refreshCursorPos.timer) {
        clearTimeout(refreshCursorPos.timer)
    }
    refreshCursorPos.timer = setTimeout(() => {
        cursor.style.display = 'none'
    }, 500)
}与此前的方法结合,并将目标元素的指针隐藏一段时间,隐藏与恢复这里用WeakMap来做一个辅助,存储节点与定时器的映射关系,做个简单的防抖
const weakMap = new WeakMap()
window.addEventListener('mousemove', function (e) {
    const { clientX, clientY } = e

    // 隐藏捕获mousemove事件的元素的指针,并在一段时间后恢复
    e.target.style.cursor = 'none'
    let timer = weakMap.get(e.target)
    if(timer){
        clearTimeout(timer)
    }
    timer = setTimeout(()=>{
        e.target.style.cursor = 'auto'
    },500)
    weakMap.set(e.target,timer)

    // 更新玉兔位置
    refreshCursorPos(clientX, clientY)
})
到这里你以为就结束了?当然没有,此时会有一个问题,你的玉兔指针无法正常工作,如下所示

当月兔出现的时候,无法正常点击跳链,选择文字元素
原因是由于,所有的事件都被你的"月兔"所捕获了
如何避免事件被目标元素捕获? 通过css设置元素pointer-events属性为none即可,设置为none后,目标元素永远不会成为鼠标事件的target
于是为#cursor元素的css,添上一行样式pointer-events: none;即可
月饼轨迹实现
有了上面实现玉兔指针的经验实现月饼轨迹就很容易了
每个月饼元素均用一个div绘制,将月饼的初始样式表先加入到页面中
const orbitSize = '40px'
addStyles(document.body, `
    .orbit{
        background-image:url(./mid-autumn-festival/MTYzMTMyNDMwODg2Nw==631324308867.png);
        width:${orbitSize};
        height:${orbitSize};
        background-size:${orbitSize} ${orbitSize};
        position:fixed;
        display:none;
        cursor:none;
        pointer-events: none;
    }
`)月饼轨迹上限的月饼设置为5个,简单的循环创建一下
const ybCounts = 5
const domList = []
for (let i = 0; i < ybCounts; i++) {
    const d = h()
    d.classList.add('orbit')
    domList.push(d)
    document.body.append(d)
}创建一个数组用于存储指针最近的5个位置,一个临时变量用于后续辅助存储轨迹点信息
const posList = []
let now = 0编写refreshOrbit方法用于更新轨迹:
- 由于轨迹有个缩放的效果,越到后面的圆饼越小,这里通过
maxScale确定最大的放大倍数 - 根据轨迹点个数,确定每个
月饼最终的缩放倍数 - 根据存储的指针位置信息,一一对应的更新月饼位置即可
function refreshOrbit(x, y) {
    // 刷新位置
    const maxScale = 1.5
    const minScale = maxScale / domList.length
    posList.forEach(({ x, y }, idx) => {
        const dom = domList[idx]
        dom.style.display = 'block'
        dom.style.left = `${x}px`
        dom.style.top = `${y}px`
        dom.style.transform = `scale(${(idx + 1) * minScale}) translate(10%,10%)`
        if (dom.timer) {
            clearTimeout(dom.timer)
        }
        dom.timer = setTimeout(() => {
            dom.style.display = 'none'
        }, 50 * (idx + 1))
    })

    const nowTime = Date.now()
    // 隔一段时间存储一个
    if (now + 50 > nowTime) {
        return
    }
    now = nowTime
    posList.push({
        x, y
    })
    // 只存储限定的个数
    if (posList.length === ybCounts+1) {
        posList.shift()
    }
}
时间回掉中调用更新轨迹的方法
window.addEventListener('mousemove', function (e) {
    const { clientX, clientY } = e
    // ...省略其它代码
    // 更新月饼轨迹
    refreshOrbit(clientX, clientY)
})
支持移动端
这个简单,监听touchmove事件即可
window.addEventListener('touchmove', function (e) {
    const { clientX, clientY } = e.changedTouches[0]
    refreshCursorPos(clientX, clientY)

    // 更新月饼轨迹
    refreshOrbit(clientX, clientY)
})
最后
后续准备把这个设置指针样式的脚本抽成一个通用的js sdk和大家分享,这样想怎么改指针样式就怎么改
大家有更好的方案可以评论区交流一波

