优秀装饰器源码学习(一):time
前言
最近又温习了一遍TS装饰器,准备用装饰器改造一下自己的轮子
在改造之前,准备先学习一下优秀的装饰器开源库,站在巨人的肩膀上前行
根据一些博文的推荐,就选择了core-decorators
准备工作
可将源码 clone到本地进行学习
也可直接利用github1s在线预览
搭建测试环境
全局安装ts-node与typescript两个依赖
sh
npm install ts-node typescript -g初始化ts配置文件(tsconfig.json)
sh
tsc --init将noImplicitAny,noImplicitThis设置为false,experimentalDecorators设置为true
json
{
  "compilerOptions": {
    /* Visit https://aka.ms/tsconfig.json to read more about this file */

    "target": "es5",
    "lib": ["ESNext","DOM"],
    /* Strict Type-Checking Options */
    "strict": true,                                 /* Enable all strict type-checking options. */
    "noImplicitAny": false,
    "noImplicitThis": false,                      /* Raise error on 'this' expressions with an implied 'any' type. */
    "esModuleInterop": true,                        /* Enables emit interoperability between CommonJS and ES Modules via
    /* Experimental Options */
    "experimentalDecorators": true,              /* Enables experimental support for ES7 decorators. */
    /* Advanced Options */
    "skipLibCheck": true,                           /* Skip type checking of declaration files. */
    "forceConsistentCasingInFileNames": true        /* Disallow inconsistently-cased references to the same file. */
  }
}
编写示例测试
ts
function defaultValue(str:string){
    return function(target,property){
        target[property] = str
    }
}

class User {

    @defaultValue('666')
    private _name: string | undefined
    constructor(name?:string) {
        if(name){
            this._name = name
        }
    }
    get name(){
        return this._name
    }
}

const a = new User()

console.log(a.name); // 666
运行,结果如上数的注释所示
ts
ts-node first.ts源码目录

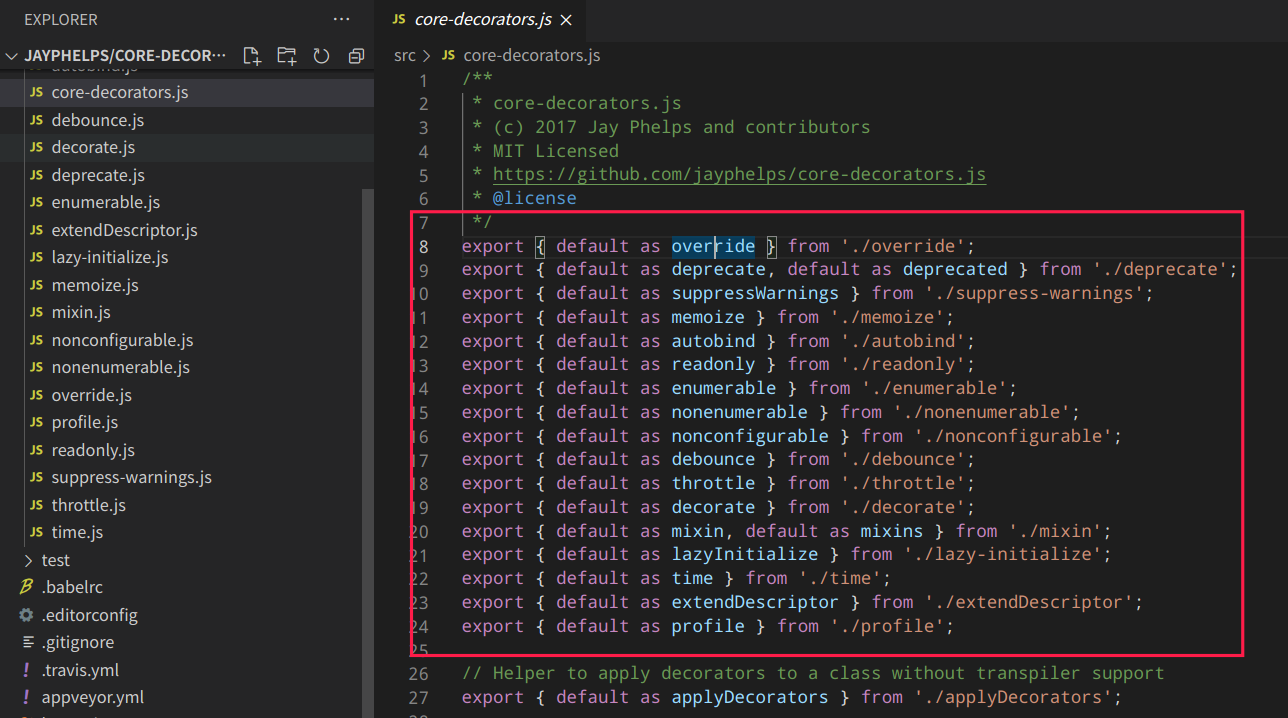
简单数了一下大概有17个,咱一个个的挨着学,细细品
下面开始和大家一起学,由易到难
time
用于计算一个函数执行耗时
使用示例
使用如下,通过一个简单的 @time 即可让函数执行完后打印执行时间
ts
import { time } from './../index'
class Test {
    @time()
    sayHello() {
        let i = 0
        while (i < 100000) {
            i++
        }
        console.log('success');
    }
}

const t = new Test()
t.sayHello()
执行效果

console.time实现
计算程序的执行时间可以利用console.time与console.timeEnd实现
ts
console.time('label')
// ...code
console.timeEnd('label') // 即可打印出执行耗时源码中为避免环境不支持console.time/timeEnd,巧妙实现了一下,源码如下
ts
const labels = {}

// 替代console.time
const myTime = (label) => {
    // 记录开始时间
    labels[label] = new Date().getTime()
}

// 替代console.timeEnd
const myTimeEnd = (label) => {
    const timeNow = new Date().getTime();
    // 当前时间与开始时间做差
    const timeTaken = timeNow - labels[label];
    // 删除无用的标志
    delete labels[label];
    // 打印耗时
    console.log(`${label}: ${timeTaken}ms`);
}
函数结构
传入参数:
- prefix:默认null
- 自定义console:默认使用内建的console.time/timeEnd
ts
// 首先是console.time的polyfill
// 当没定义time与timeEnd的时候,利用labels变量实现类似的效果
const defaultConsole = {
    time: console.time ? console.time.bind(console) : myTime,
    timeEnd: console.timeEnd ? console.timeEnd.bind(console) : myTimeEnd
}
// 用于label生成
let count = 0

export default function time(prefix: null | string = null, console = defaultConsole) {
    return function (target, key, descriptor) {

    }
}
最终实现
ts
let count = 0
export default function time(prefix: null | string = null, console = defaultConsole) {
    return function (target, key, descriptor) {
        const fn = descriptor.value
        // 如果没有传参
        // 使用构造函数的名称与装饰对象的属性名作为key
        if (prefix === null) {
            prefix = `${target.constructor.name}.${key}`;
        }

        // 校验装饰对象是否为函数
        if (typeof fn !== 'function') {
            throw new SyntaxError(`@time can only be used on functions, not: ${fn}`);
        }

        return {
            ...descriptor,
            value() {
                const label = `${prefix}-${count}`
                count++
                console.time(label)
                try {
                    return fn.apply(this, arguments)
                } finally {
                    console.timeEnd(label)
                }
            }
        }
    }
}
未完待续
本文主要介绍了测试环境的搭建,跟着源码一起重现了time函数
后续文章将直接对源码进行分析与学习

